How to Make a DIY Calendar: A Fun and Creative Activity for Kids and Parents

Creating a DIY calendar is a fantastic way to combine learning, creativity, and family bonding. This simple yet rewarding activity allows parents and children to work together on a project that’s both fun and functional. Not only does it encourage constructive play, but it also helps kids develop skills like organisation, creativity, and focus.

In this guide, we’ll show you how to design and assemble your very own calendar in just a few easy steps. This activity is great for sparking your child’s creativity and making memories that will last all year round.

Jump straight to the method here.

Let Your Children Manage Their Own Calendar

A DIY calendar is a fantastic way to engage your child in learning and help them stay on top of important events. By incorporating educational elements and kid-focused activities, you can turn your calendar into a fun, interactive resource for the entire family. Let your children add their own important events and keep track of their important events.

Learning Days and Activities

Add learning days and activities to your calendar to schedule time for specific activities where your child can learn, be creative or read.

Important Dates

Keep a note of school events, trips away, sports days and birthdays so your children know when to expect fun activities that they can look forward to.

Fun Learning Goals

The start of the year is a great time to choose some fun learning goals with your child and choose a timeframe to achieve them. You could introduce goals such as reading a certain number of books in a month or completing a new craft project. You should also schedule reward days for when they achieve their goals to reinforce these goals.

Materials You Will Need

Before you dive into making your DIY calendar, it’s time to get all the materials you may need. Having everything ready will make the process smooth and enjoyable for both you and your child.

Some items you may require are:

  • Photos or Artwork: Choose family photos, your child’s drawings, or any fun images that reflect your theme. If your children like diggers, why not use some of our JCB Muddy Friends wall stickers?
  • Printable Calendar Templates: Download a free calendar template.
  • Paper or Cardstock: Use thicker paper to ensure your calendar lasts all year.
  • Scissors or Paper Cutter: For precise cuts when shaping the pages or photos.
  • Adhesives: Glue, tape, or a glue stick for sticking images and decorations in place.
  • Binding Materials: Options like a hole punch and yarn, ribbon, or a small binder ring for assembling your calendar.
  • Decorative Supplies: Stickers, markers and stamps can all add a personal touch.
  • Optional Tools:
    • Ruler for straight lines.
    • Laminator for added durability.
    • Magnetic strips if you want a fridge-friendly calendar.

Encourage your child to participate by letting them select the decorations or photos. This not only makes the activity more engaging but also gives the calendar a unique, personal touch. Once everything is ready, you’re all set to start creating.

Step-by-step Guide to Making a DIY Calendar

Step 1: Choose Your Theme

Choose a theme for your calendar. Some ideas for a fun creative DIY calendar are:

Family Memories

Use photos of your favourite family moments from the past year to decorate your new calendar.

Get Seasonal

Help your children understand the different seasons and events by decorating the calendar with seasonal pictures and drawings. Try giving Easter a bright decoration with bunnies and eggs while October can be a spooky calendar with plenty of ghouls and zombies.

Artwork

Let your children’s imaginations run wild with their artwork and ideas. Give them stickers, stamps and pens to come up with their own calendar for the new year. Guide them on different events throughout the year that they might want to include in their inspiring artwork.

Step 2: Prepare Your Calendar Templates

When preparing your blank calendar template to print, remember to leave plenty of space for decorations and additional notes that pop up throughout the year.

Try adding the month in the top left corner with the daily calendar taking up two-thirds of the page below. This leaves plenty of space to be creative and add stickers, stamps and drawings.

We recommend using A4 paper in landscape so that you can easily print the calendar templates at home or at the local library (don’t forget to leave some space at the top for binding). Let your kids get involved in this design to see how they want to try designing their own calendar.

Step 3: Add Decorations

Now it’s time to get creative. With stickers, stamps, pens and glue in hand, your children can use their imagination and motor skills to be creative and create the perfect calendar for the new year.

If you are using glue, be prepared to get a little messy and lay down a protective sheet on your table to save yourself a clean-up later on.

Step 4: Assemble Your Calendar

Now it’s time to bind your calendar. This will vary depending on how you have decided to bind everything together. If you have left a space at the top of your page for ring binding or yarn binding, you can add a straight row of hole punches across all the pages to allow the binding to secure all of the pages together.

If you don’t want to bind with rings or yarn a simple row of staples should do the job. And if you want to add your calendar to the fridge you can add a sturdy piece of card to the binding and mount a few magnetic strips to the back of the card to stick to the fridge easily.

Step 5: Personalise Your DIY Calendar

Once your calendar is ready, go through all the months with your children and add key dates such as birthdays, anniversaries, holidays or whatever your children think is worth adding to the calendar.

Fun for the Whole Family with a DIY Calendar

Creating a DIY calendar is more than just a crafting project, it’s an opportunity to engage your child in constructive play, spark their creativity, and teach them valuable skills like time management and organisation. By involving them in the process, you create a practical tool for keeping track of events and activities and foster a sense of accomplishment and pride in their work.

Whether you use it to highlight important dates, track educational goals, or simply as a fun family activity, a DIY calendar is a meaningful way to spend quality time together. So, gather your materials, let your imagination run wild, and start creating memories that will last all year long.

Fine Motor Skills Activities to Keep Children Engaged and Learning

Fine motor skills are an essential part of a child’s development, enabling them to perform tasks like writing, drawing, and buttoning their clothes. These skills involve the coordination of small muscles in the hands and fingers, forming the foundation for independence and success in everyday life.

While mastering fine motor skills can sometimes feel challenging, the good news is that learning doesn’t have to be boring! With a little creativity, parents can turn everyday moments into opportunities for growth. 

We’ll explore a variety of fun, practical, and easy-to-set-up activities that not only strengthen fine motor skills but also spark joy and creativity in children.


What are Fine Motor Skills?

Fine motor skills refer to the ability to use and control the small muscles in the hands, fingers, and wrists. These skills are essential for performing precise movements needed for everyday tasks such as holding a pencil, tying shoelaces, or buttoning a shirt.

Developing fine motor skills is crucial for children as they grow, helping them gain independence in self-care activities like eating, dressing, and personal hygiene. They also lay the foundation for academic success, enabling children to write, draw, and engage in hands-on learning activities effectively.

By fostering these skills early, parents can help their children feel more confident in their abilities and better prepared for the challenges of school and life. Fine motor skill development is a gradual process, but with the right activities and support, it can also be a lot of fun.


Why are Fine Motor Skills Important?

Fine motor skills are a vital part of a child’s growth and play a key role in their ability to navigate daily life with ease and confidence. These skills enable children to perform essential tasks like holding a spoon, zipping up their coats, or tying their shoelaces. Mastering these abilities can help form a sense of independence and accomplishment.

Fine motor skills are also fundamental for writing, drawing, and cutting with scissors, tasks that are crucial for early learning and classroom activities. Children who develop strong fine motor skills are better equipped to express themselves creatively and meet the demands of schoolwork.


Tips for Parents

Incorporate Activities into Everyday Life

Fine motor skill development doesn’t have to be limited to playtime. Encourage your child to practice skills during daily routines. For example, let them help in the kitchen by stirring, pouring, or using tongs to serve food. Involve them in chores like folding clothes or picking up small items, turning ordinary moments into skill-building opportunities.

Use Materials you Already Have

There’s no need for fancy equipment. Household items like kitchen tools, buttons, cardboard, or toys can become excellent resources for fine motor activities. Everyday materials make the activities accessible and budget-friendly while also teaching your child to use creativity in their play.

Keep Activities Fun and Pressure-free

Children are more likely to engage with activities that match their interests. If they love animals, incorporate animal-themed crafts or sorting animal toys. If they enjoy cars, include activities like threading toy cars or building roads with blocks. Tailoring tasks to their passions keeps them motivated and focused.

Be Patient and Supportive

Fine motor skills take time to develop, and every child progresses at their own speed. Be patient as they learn and provide gentle guidance when needed. 

Offer lots of praise and positive reinforcement to boost their confidence and make them feel proud of their achievements.


Fine Motor Activities For Children at Home

Play-Based Fine Motor Activities

Pushing and Pulling Wheel Toys 

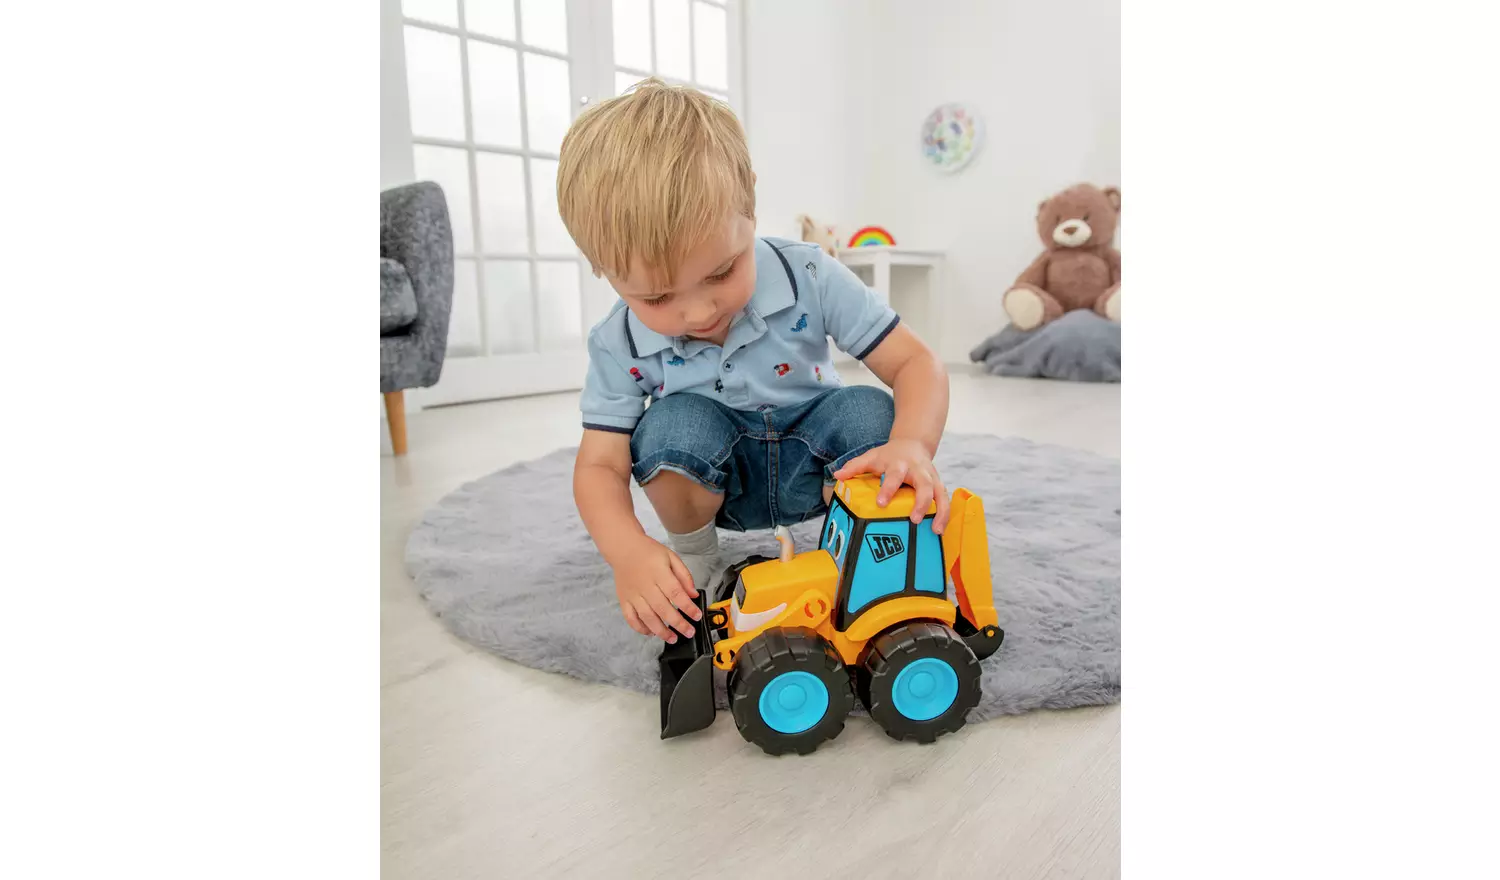
Encourage your child to push and pull small cars, trains, or digger toys across different surfaces. 

These actions help strengthen wrist and finger muscles while improving coordination. Adding obstacles or ramps makes the activity more engaging and encourages problem-solving.

Balloon Volleyball

Set up a simple indoor game of balloon volleyball, where your child bats a balloon back and forth with their hands or a small paddle. 

This activity builds hand-eye coordination, grip strength, and reaction speed. To make it more challenging, try introducing “target zones” they can aim for.

Bead Threading

Give your child a piece of string or shoelace and let them thread beads, pasta, or even cereal loops to develop precision, focus, and patience while improving their pincer grip. For extra fun, have them create patterns or sort beads by colour.

Ask your children to create bracelets and necklaces that they and the family can wear for an added sense of pride in their creations.

Craft Activities

Collage Making

Let your children be creative and explore their own ideas with a collage. Get some child-friendly paper, glue and scissors (or precut the shapes) and some materials to work with including family photos, different coloured cards, feathers, leaves and small objects.

By cutting, ripping and sticking, your children can refine their scissor skills, hand strength and creativity in this engaging activity.

Building Towers

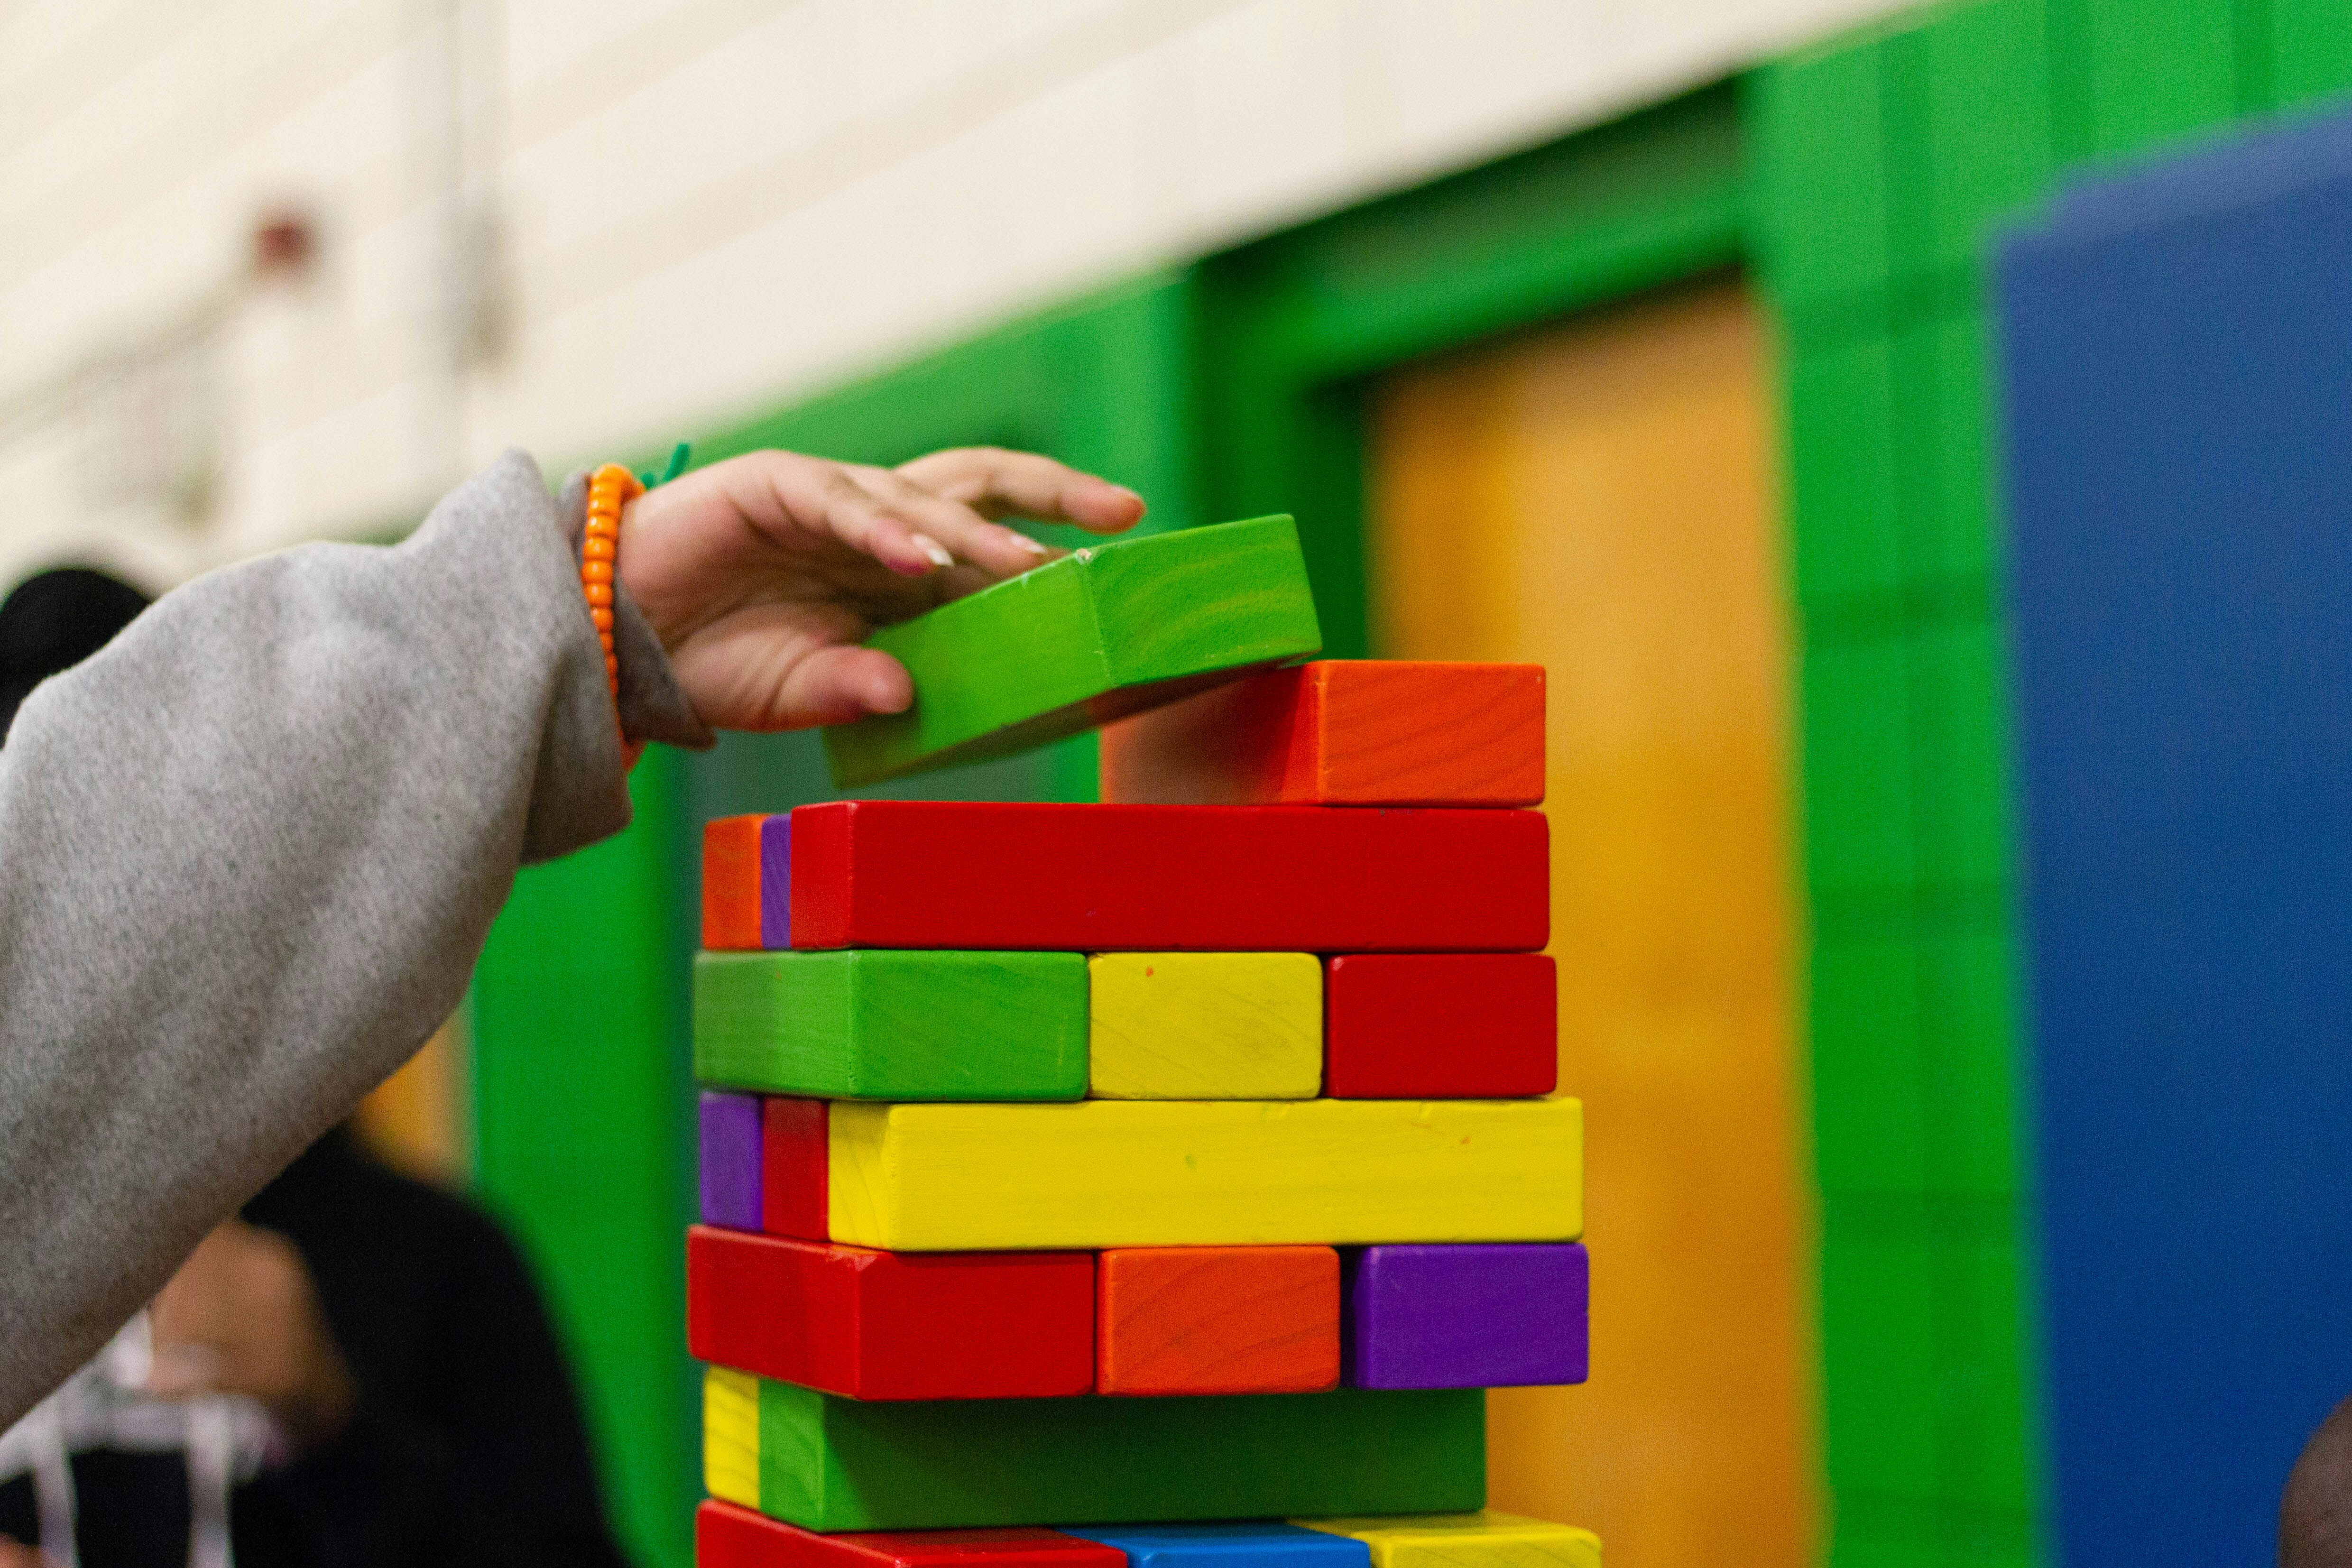
Give your child building blocks, stacking cups, or other objects to create towers. This fine motor skills activity helps with coordination, balance, and problem-solving skills. 

Challenge them to build the tallest structure possible or create specific shapes to add complexity.

Everyday Tasks

Sorting Games

Use everyday items like buttons, coins, or pom-poms for sorting activities. Have your child sort them by colour, size, or shape into small containers. This can help improve dexterity, focus, and organisational skills while being highly engaging.

Peeling Stickers

Using colourful stickers, encourage your child to peel and stick them onto paper or a surface. This can develop fine motor control and strengthen their pincer grip, which is essential for writing and other tasks.

Tongs and Tweezers

Hand your child a pair of tongs or tweezers and let them pick up small items like cotton balls, cereal, or pom-poms. 

Set up a challenge where they move the items from one container to another to enhance grip strength and hand-eye coordination. 


Improving Children’s Fine Motor Skills

Helping children develop fine motor skills is an essential part of their growth and independence. 

By incorporating simple and engaging activities into their daily routine, you can make learning fun while fostering their creativity, confidence, and coordination. 

From playful games like balloon volleyball to practical tasks like sorting buttons, each activity builds strength and precision in their little hands. With patience and practice, these fine motor skills will lay the foundation for lifelong success in tasks both big and small.

Den Building for Children: Fun Tips and Creative Ideas to Build Your Own Den

Den building is a timeless activity that sparks creativity, encourages teamwork, and brings a sense of adventure to kids of all ages. Whether you’re setting up a cosy indoor hideout or an exciting outdoor fort, building your own den is a fun way for families to bond while learning new skills.

Den building at home not only encourages constructive play but also leads to creativity through the use of different materials and objects. 

Jump straight into the den-building process here.

The Benefits of Den Building

Den building is an activity packed with educational and developmental benefits for children. Some of the key benefits of building a DIY den at home include:

Encouraging Creativity

Building a den allows kids to use their imagination by transforming everyday objects into their own cosy hideaway.

Problem-Solving

Creating a stable den can teach children to think critically and solve new challenges such as balancing materials and how much space is required.

Teamwork & Communication

When building dens with friends, they learn to share ideas, delegate tasks and work as a team to create the perfect den.

Physical Development

Lifting and assembling help children develop crucial motor skills as well as hand-eye coordination.

Confidence Building

Building a den at home can help your children challenge themselves and experience trial-and-error learning. This helps them develop key skills and gain confidence and pride when they achieve what they have set out to do. 

Top Tips for Building a Den with Your Kids

Encourage Creativity

Let kids take the lead when building their den. Ask leading questions like, “What kind of den do you want to make?” or “How can we make it stronger?”. 

This encourages them to think creatively and solve problems on their own. Using repurposed items or natural materials can inspire unique designs and help them explore their imagination.

Use What You Have

There’s no need to buy special materials for a den. Everyday items like blankets, cushions, chairs, and cardboard boxes work perfectly. 

For outdoor dens, use branches, leaves, and stones to create sturdy structures. Repurposing old sheets or using recycled materials is not only budget-friendly but also eco-conscious.

Make it Comfortable

Comfort is key to a great den. Add pillows, cushions, or sleeping bags to make the space cosy. Indoors, include soft blankets and fairy lights for a magical touch. 

For outdoor dens, use tarpaulin or a waterproof layer to keep the area dry and enjoyable.

Keep it Safe

Safety is essential when building dens. Check that structures are stable and secure before kids use them. Avoid sharp or heavy objects that could cause injuries. 

If you’re outdoors, choose a spot away from water or uneven ground. Always supervise younger children to ensure they stay safe while building and playing.

Clean Up Together

When the fun is over, involve the kids in cleaning up. Teach them to put away materials and leave outdoor spaces just as they found them. 

Encourage reusing and recycling materials for future den-building projects. This step teaches responsibility while wrapping up the activity on a positive note.

Den Building for the Whole Family

Den building is a chance for kids to explore their creativity, learn valuable skills, and make lasting memories. Whether they’re building an indoor hideout or an outdoor fort, the process is as rewarding as the result. 

By encouraging imagination, using everyday materials, and keeping things safe, you can help your children create a den that’s both fun and functional.

This hands-on activity also fosters teamwork and problem-solving while providing an outlet for play and relaxation. 

From designing unique structures to decorating with personal touches, den building offers endless possibilities for learning and bonding. So gather your materials, choose a spot, and start building a family den today. The adventures are waiting.

Den Materials

Building a den doesn’t require any special materials or skills. It can be done indoors and outdoors and made with common household items. You do need to be cautious of choosing materials that are safe and aren’t likely to fall.

Some common materials that you can use to build a den include:

  • Blankets and Sheets: Use lightweight blankets or bedsheets to drape over furniture.
  • Cushions and Pillows: Add these for comfort and stability.
  • Chairs and Tables: Perfect for creating a solid frame for your den.
  • Fairy Lights or Torches: Add a magical glow to the space.
  • Cardboard Boxes: Great for creating walls or tunnels.
  • Clips or Clothes Pegs: Use these to secure blankets and prevent slipping.


If you want to explore the outdoors and explore natural resources, you could also try using the following materials.


  • Branches and Sticks: Use sturdy branches for the structure.
  • Leaves and Grass: Perfect for natural roofing or decorations.
  • Tarpaulin or Waterproof Sheets: Essential for weatherproofing your outdoor den.
  • Rope or String: Ideal for tying materials together securely.
  • Stones and Logs: Use as weights or for seating areas.


Gathering a variety of materials before you start building a den can help teach your children about preparation and add an additional way for the family to get involved.

How to Build a Den at Home

Building a den indoors or outdoors follows the same process with slightly different materials. Follow these four easy steps to guide your children to create the perfect den.

Step 1: Find the Perfect Space

Look around the house for a place where your children can make a den. Find an open space without potential hazards such as shelves and cabinets. You want to find somewhere that the kids will have enough space to sit and move around. 

An open living room, dining room, conservatory or lawn are some of the best spots to let your children start their creation.

Step 2: Build the Structure

Now it’s time to get creative, use household materials to create the structure of the den. Leaving your children to come up with ideas for the structure is a great way for them to be critical thinkers and trial different types of structure. You may need to help them move chairs and tables if they want to include this as part of their den.

This structure will form the base for your den and needs to be stable and heavy enough to not move around while the children are playing inside. Aim to have at least 3 main points to create a big enough space for your children.

Step 3: Add a Covering

Once the structure is ready, it’s time to cover the structure to create the perfect hideaway. An easy choice for this is using lightweight blankets, sheets or throws to sit on top of the structure and cover the sides. Using lightweight materials will reduce the chance of the roof sagging and the risk of dragging the structure around with movement.

Step 4: Decorate Your Den

Now it’s time to decorate. Using cushions and fairy lights to add an element of comfort and cosiness while using large cardboard boxes can be a great way to create tunnels and multiple rooms within the structure. This is where the kids can really get creative and add their own ideas to the den to make it exactly how they want it.

Building Bonds – Constructive Play for Quality Parent-Child Time – Parents’ Guide

In today’s busy world, finding meaningful ways to connect with your children can be a challenge. Constructive play is a fantastic solution, combining fun, learning, and bonding in a way that’s both rewarding and memorable. At JCB Explore, we understand the importance of these moments and want to help you make the most of them.


Why Constructive Play Matters

Constructive play is more than just a way to keep kids entertained. It’s an essential part of childhood development that helps children build problem-solving skills, enhance creativity, and improve hand-eye coordination. For parents, it’s a unique opportunity to bond with your child, teaching them new skills while creating lasting memories.


Creative Block Building

Building with blocks is a timeless and versatile way to engage in constructive play. Here’s how you can make the most of it.


Collaborative Creations

Rather than simply stacking blocks, turn block building into a collaborative project. For example, you and your child can work together to build a miniature city or a JCB construction site. Allow your child to lead the project by deciding what structures to build, while you offer support and guidance. This approach encourages independence, teamwork, and creativity. It also provides opportunities to discuss real-world concepts like architecture, engineering, and urban planning.


Storytelling with Structures

Take your block building to the next level by incorporating storytelling. As you build, create a narrative that brings your structures to life. For instance, your block tower could be the headquarters of a brave construction crew, complete with JCB machines ready for action. This method not only sparks creativity but also helps develop language skills and narrative thinking. Plus, it makes the play session more engaging and memorable.


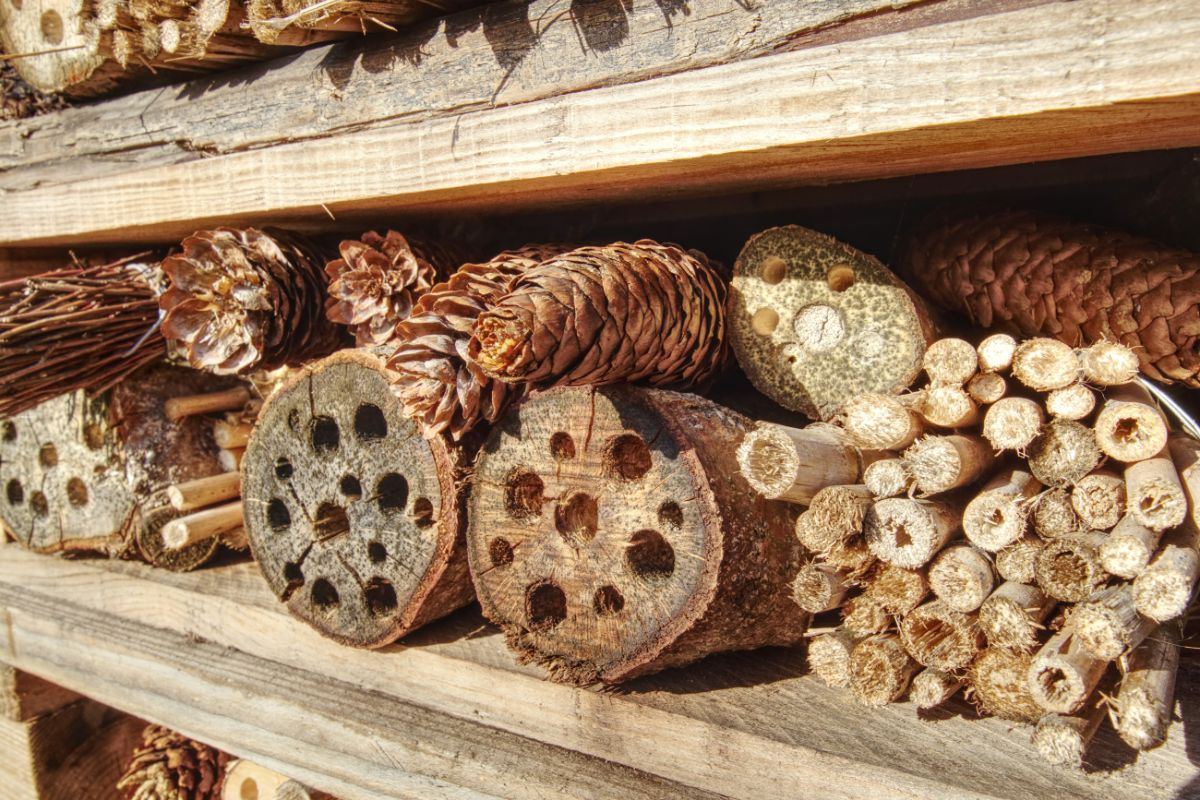
Build a Birdhouse or Bug Hotel

This project is perfect for teaching your child about nature and the environment while working together to create something meaningful. Start by gathering simple materials like wood, nails, and paint. Guide your child through the process of designing and building the birdhouse or bug hotel, allowing them to take the lead in decision-making. Once the project is complete, you can paint and decorate it together, making it truly unique. This activity not only enhances fine motor skills and creativity but also fosters a sense of responsibility and care for the environment.


Build a Fort or Teepee

Using natural materials like branches, leaves, and twine, you and your child can build a cosy fort or teepee in your garden. Begin by discussing how to make the structure sturdy and weather-resistant, encouraging problem-solving and teamwork. Once the fort is built, it can become the setting for all kinds of imaginative play—from pretending to be explorers to having a picnic inside. This activity not only develops your child’s creativity and practical skills but also provides a great space for bonding and storytelling.


Tips for Successful Constructive Play

The goal is to have fun and connect with your child, so be patient and offer encouragement. Let your child’s creativity shine, even if the end result isn’t perfect. Give your child the opportunity to lead the play. This builds confidence and independence, while still allowing you to participate and support their efforts.

Constructive play is a wonderful way to strengthen your bond with your child while fostering creativity, problem-solving skills, and a love for learning. At JCB Explore, we believe that these moments of play are invaluable, creating memories that will last a lifetime. Whether you’re building with blocks, working on a DIY project, or constructing a fort outside, these activities offer endless opportunities for connection and growth.

Countdown to Christmas Calendar – Daily DIY Activities for Kids

As the holiday season approaches, one fun and engaging idea is to create a Countdown to Christmas calendar filled with daily DIY activities for kids. Crafting a personalised calendar not only keeps the festive spirit alive but also offers a great opportunity for family bonding and creativity.

Forget the usual chocolate advent calendars—instead, let’s make every day of December a celebration with crafts, games, and festive challenges that will bring joy to your little ones. We’ve included a mix of general festive ideas and some special JCB-themed activities to keep things interesting!


Design Your Countdown Calendar

First, you’ll need to create the actual countdown calendar. You can keep it simple or go all out with your design—what’s most important is that it’s easy to use and fun for the kids!

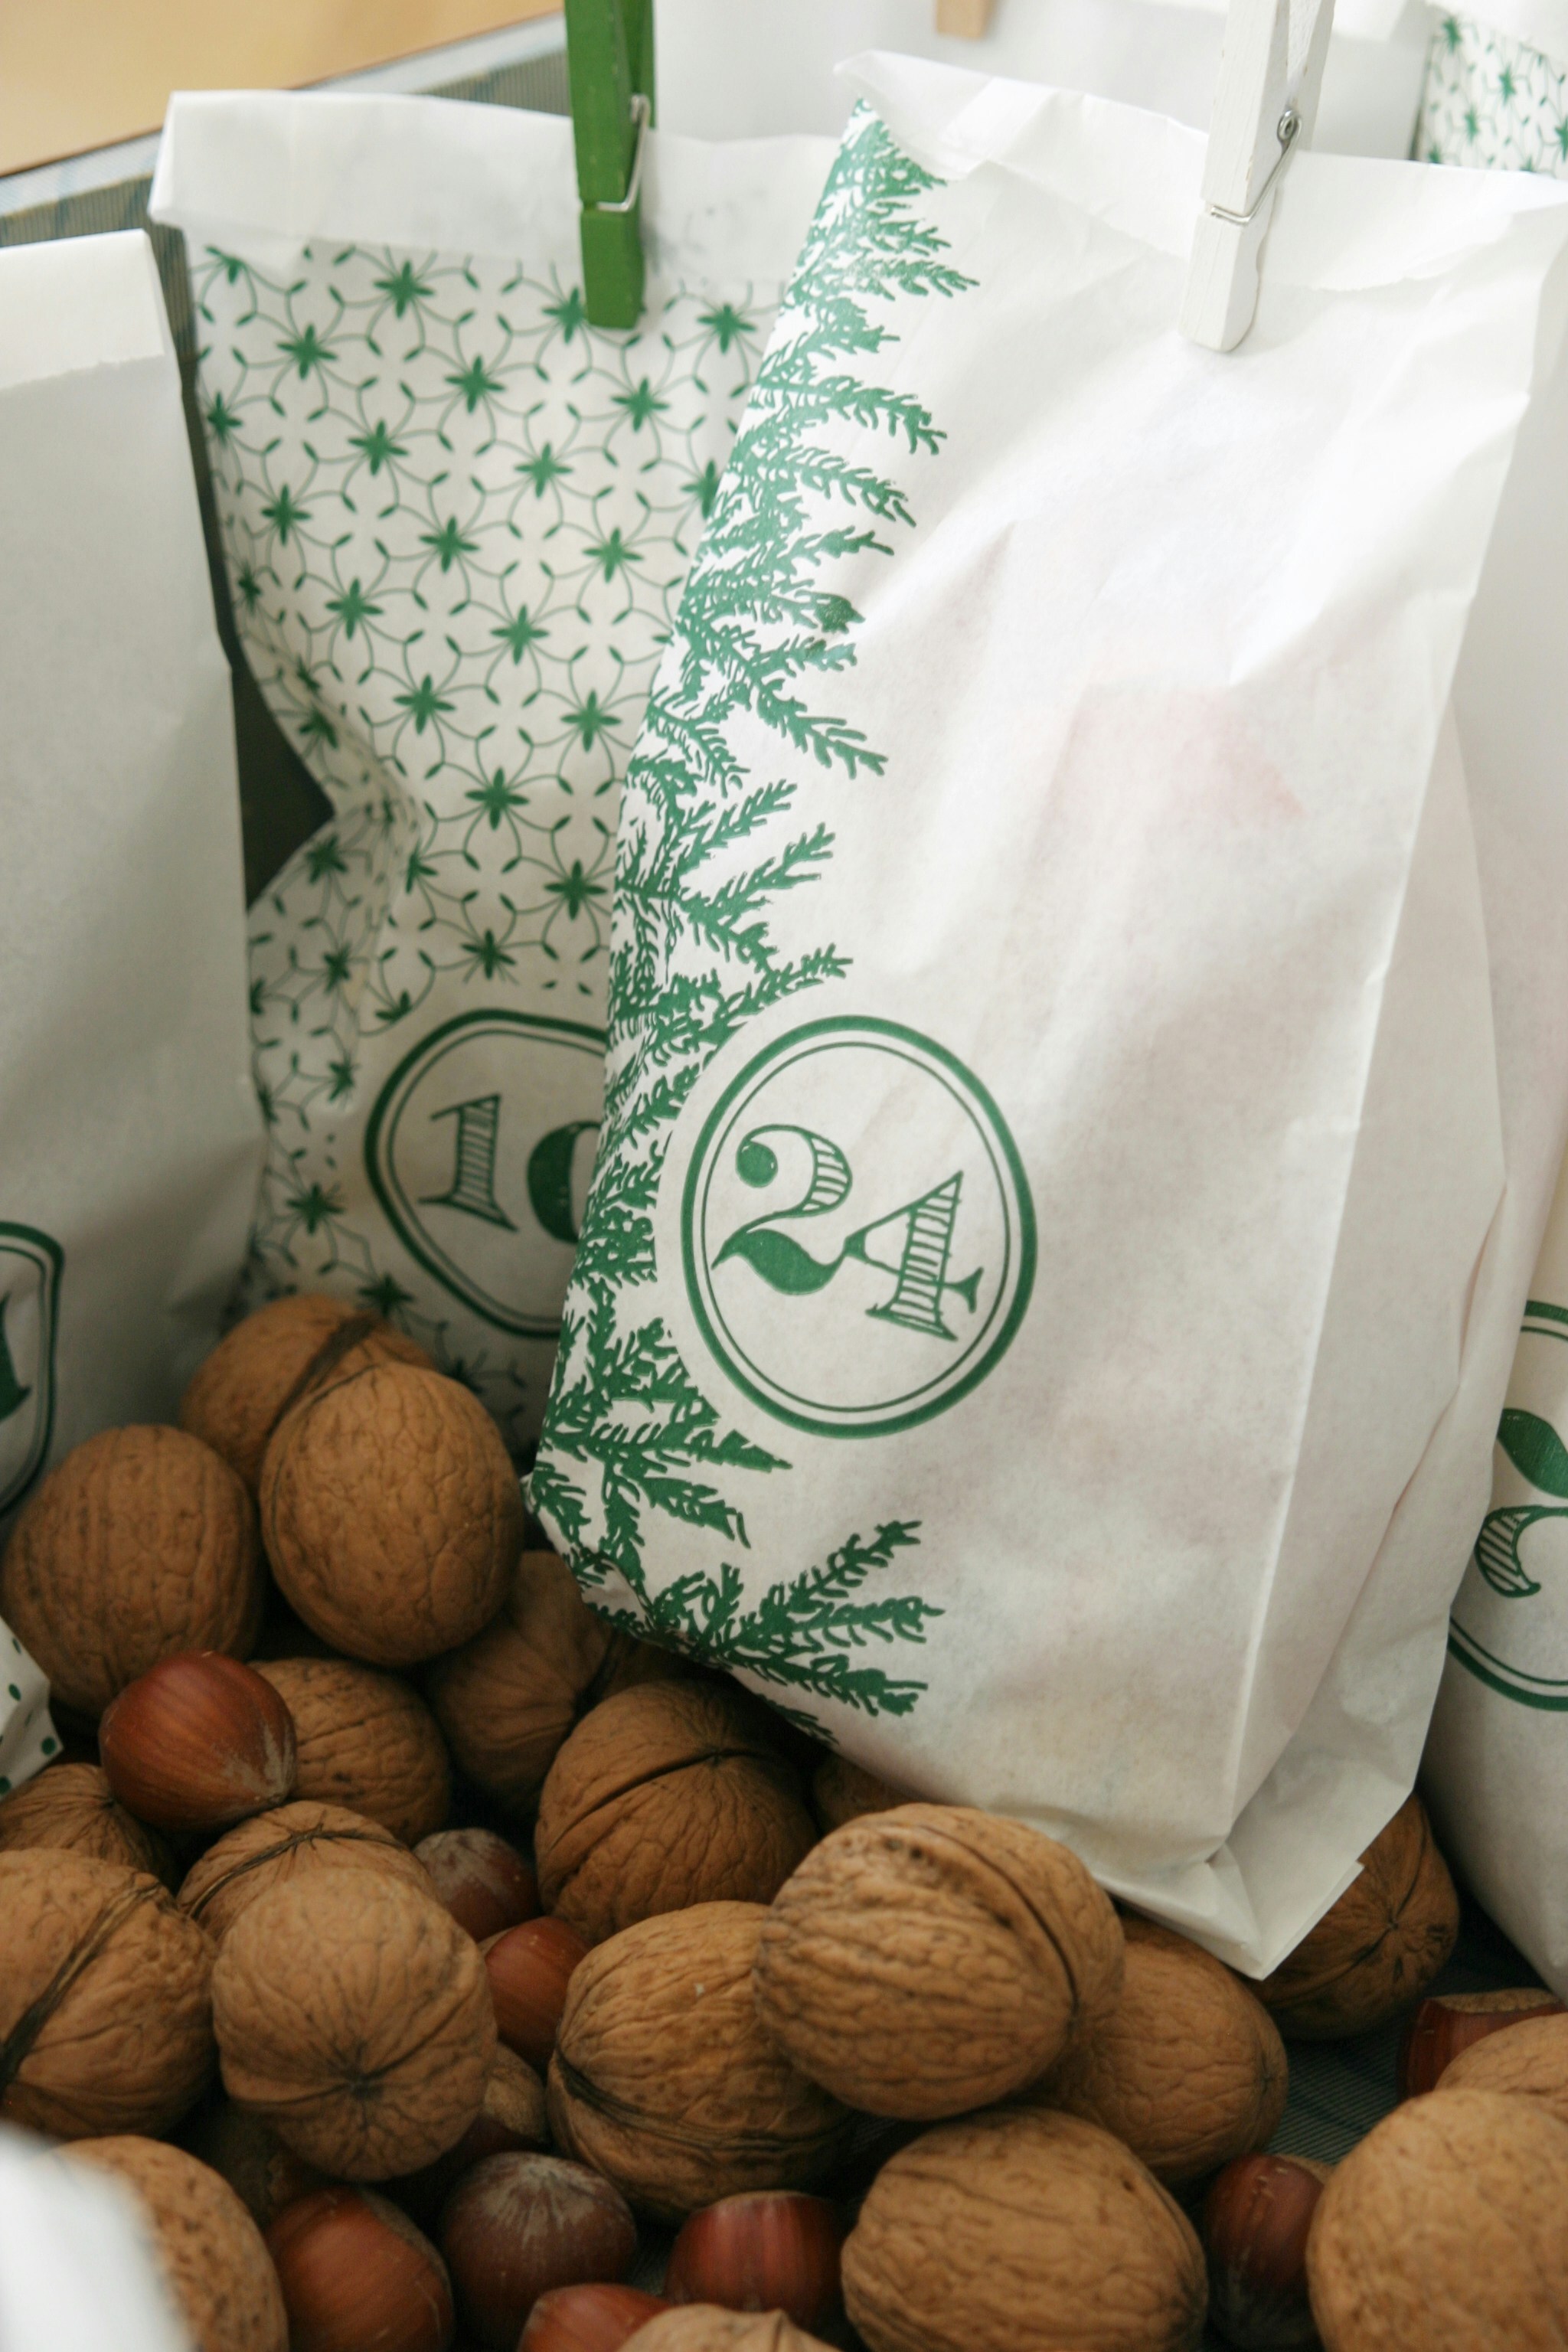
Use 24 small paper bags, each labelled with the numbers 1 through 24. Hang them on a string or attach them to a large board. Inside each bag, place a note with the daily activity. Use colourful envelopes and stick them to a poster board or wall. Number them 1 to 24 and place an activity card inside each envelope. Once you have your calendar ready, it’s time to plan the activities!


Plan Your Daily DIY Activities

To make the countdown to Christmas truly special, fill each day with a unique DIY activity. Here are some fun ideas that incorporate crafts, games, and festive challenges:


Week 1 – Creative Crafts


December 1 – Make Your Own Christmas Ornaments. Use salt dough, paint, and glitter to create personalised ornaments for the tree.

December 2 – Build a Gingerbread House. Use a kit or bake gingerbread from scratch, and let the kids go wild with decorations.

December 3 – DIY Snow Globes. Fill a jar with water, glitter, and a tiny festive figurine to make a magical snow globe.

December 4 – Create a Christmas Card for a Loved One. Encourage kids to design and craft handmade cards to send to family and friends.

December 5 – Craft Paper Snowflakes. Fold and cut paper to create intricate snowflakes, then hang them around the house for a wintry feel.

December 6 – Make Reindeer Hats. Use construction paper, glue, and googly eyes to create cute reindeer hats for the whole family.

December 7 – Pine Cone Christmas Trees. Gather pine cones, paint them green, and decorate with glitter or tiny pom-poms to create mini Christmas trees.


Week 2: Fun Games and Puzzles


December 8 – Christmas Scavenger Hunt: Create a list of Christmas-themed items for kids to find around the house or garden.

December 9 – Pin the Nose on Rudolph: A festive twist on “Pin the Tail on the Donkey” using a cut-out of Rudolph.

December 10 – JCB Christmas Bingo. Create bingo cards featuring JCB vehicles, tools, and Christmas symbols. Play bingo with small prizes or treats!

December 11 – Jingle Bell Toss Game. Set up a target and have the kids toss jingle bells into it for points.

December 12 – JCB Construction-Themed Word Search. Create a word search puzzle with words related to JCB vehicles, construction, and Christmas. A fun activity to keep little ones busy!

December 13 – Christmas Cookie Construction. Bake sugar cookies shaped like diggers, cranes, and other construction vehicles. Let the kids decorate them with coloured icing and sprinkles.

December 14 – Festive Puzzles. Print out or purchase Christmas-themed puzzles to complete together.

Week 3: Festive Challenges and Activities


December 15 – Write a Letter to Santa.  Have the kids write their wish lists to Santa, complete with drawings.

December 16 – DIY Christmas Wrapping Paper. Use stamps, paint, and markers to create unique wrapping paper.

December 17 – Christmas Carol Karaoke.  Organise a family karaoke session with all the classic Christmas carols.

December 18 – Make Your Own Hot Chocolate Bar. Set up a hot chocolate station with marshmallows, whipped cream, and candy canes.

December 19 – Holiday Movie Night. Let the kids pick their favourite Christmas movie and make a cosy night of it with popcorn and blankets.

December 20 – Build a JCB-Themed Christmas Village. Use building blocks or construction toys to create a miniature Christmas village complete with JCB vehicles and construction signs.

December 21 – Decorate the Front Garden. Create a festive display in the garden with lights, reindeer, and other decorations.

Week 4: Preparing for the Big Day


December 22 – Make a Christmas Eve Box. Fill a box with goodies like pyjamas, a book, and a small toy to open on Christmas Eve.

December 23 – Bake Christmas Morning Muffins. Get a head start on breakfast by baking muffins or a sweet bread for Christmas morning.

December 24 – Read a Christmas Story Together. End the countdown with a cosy family reading of ‘Twas the Night Before Christmas’ or another favourite holiday story.


With your Countdown to Christmas calendar ready to go, you’re all set for a month of fun, creativity, and festive family bonding. Remember, the most important thing is to enjoy the time spent together and create lasting memories.


The Countdown to Christmas calendar is more than just a fun holiday activity—it’s a way to slow down and savour the season. By planning a variety of DIY crafts, games, and challenges, you’ll fill each day with excitement and anticipation, making the lead-up to Christmas as magical as the day itself!

Happy holidays, and happy crafting from all of us at JCB Explore!

Halloween Baking – Spooktacular Ideas for a Fun-Filled Day of Halloween Baking

Halloween is just around the corner, and what better way to celebrate than with a day filled with spooky, delicious baking? At JCB Explore, we’re all about creativity and adventure, so why not bring a little construction-themed fun into your Halloween treats this year? With these easy and fun Halloween baking ideas, you can whip up some spooktacular goodies that are sure to delight both kids and adults alike!


JCB Pumpkin Cupcakes

Give your Halloween cupcakes a construction-themed makeover with these adorable JCB pumpkin cupcakes. Start with a batch of your favourite cupcake recipe. Once baked and cooled, you’re ready to decorate. Use orange frosting to create the pumpkin base. Then, add black frosting for the Jack-o’-lantern face. For a JCB twist, use yellow frosting to create mini JCB digger shapes on top of the pumpkin faces. You can pipe on details like wheels and arms with black and white icing.

Use small chocolate chips or edible candy eyes to create eyes for the pumpkins and diggers, and sprinkle some crushed chocolate cookies around the base to look like dirt!

These cupcakes are not only delicious but also a great way to combine Halloween fun with a nod to your favourite construction vehicles.


Haunted Construction Site Gingerbread House

Put a spooky twist on a traditional gingerbread house by creating a haunted construction site! Use a standard gingerbread recipe and cut out pieces to form the walls and roof of a spooky house. Don’t forget to cut out the windows and a door!

Assemble your gingerbread house on a sturdy base using icing as the glue. Let it set and harden. Decorate the house with JCB-themed details like candy diggers made from biscuits and pretzel sticks for crane arms. Use chocolate logs to create piles of “wood” and marshmallow “boulders.”

Add some Halloween flair with candy pumpkins, gummy worms, and ghost-shaped icing decorations. You can also add a spooky construction sign made out of fondant or coloured icing.

This haunted construction site gingerbread house is a fun project that allows kids to get hands-on with both building and decorating!


Skeleton Cookie Excavation

Turn baking into a fun excavation adventure with skeleton cookie excavation trays! Use a bone-shaped cookie cutter to create sugar cookies that look like skeleton bones. Bake and cool. Fill a large tray with crushed graham crackers or biscuit crumbs to resemble sand or dirt.

Bury the skeleton cookies in the “dirt” and let the kids dig them out with mini JCB diggers or small toy shovels. Add gummy worms or candy insects to the excavation tray to add a spooky surprise for the kids to find!

This interactive treat combines baking with playtime, making it perfect for Halloween parties or a fun family activity.


Monster Digger Doughnuts

Transform plain doughnuts into monstrous digger-themed treats that are both fun and delicious! Start with your favourite doughnuts, either baked at home or store-bought. Use green, purple, and orange icing to create monster faces on each doughnut. Add candy eyes, chocolate chips, and sprinkles for extra detail.

Use a small toy digger to “scoop” some of the doughnut frosting to create the look of a digger at work. You can place crushed cookies or candy “rubble” around the doughnut to add to the construction theme.

These monster digger doughnuts are quick and easy to make and perfect for adding a touch of spooky construction fun to your Halloween festivities.


Halloween is the perfect time to get creative in the kitchen, and these JCB-themed Halloween baking ideas add a unique twist to traditional spooky treats. Whether you’re making JCB pumpkin cupcakes, or decorating monster digger doughnuts, these fun projects are sure to make your Halloween celebrations memorable.


4 Ways To Turn Everyday Items Into Fun Play Items

Creativity and recycling go hand-in-hand, and transforming everyday household items into play structures is a fantastic way to engage children in fun, eco-friendly activities. Here are four creative DIY projects that emphasise the importance of recycling while sparking imagination:

Cardboard Box Forts

Cardboard boxes are versatile and can be repurposed into amazing forts, castles, or playhouses. Gather a few large boxes, tape, and markers. Let your children design and decorate their own personal play space. 

Cut out windows and doors, and use additional boxes to create furniture or accessories. This project encourages imaginative play and helps develop fine motor skills as children draw, cut, and construct their creations.

Bottle Cap Mosaics

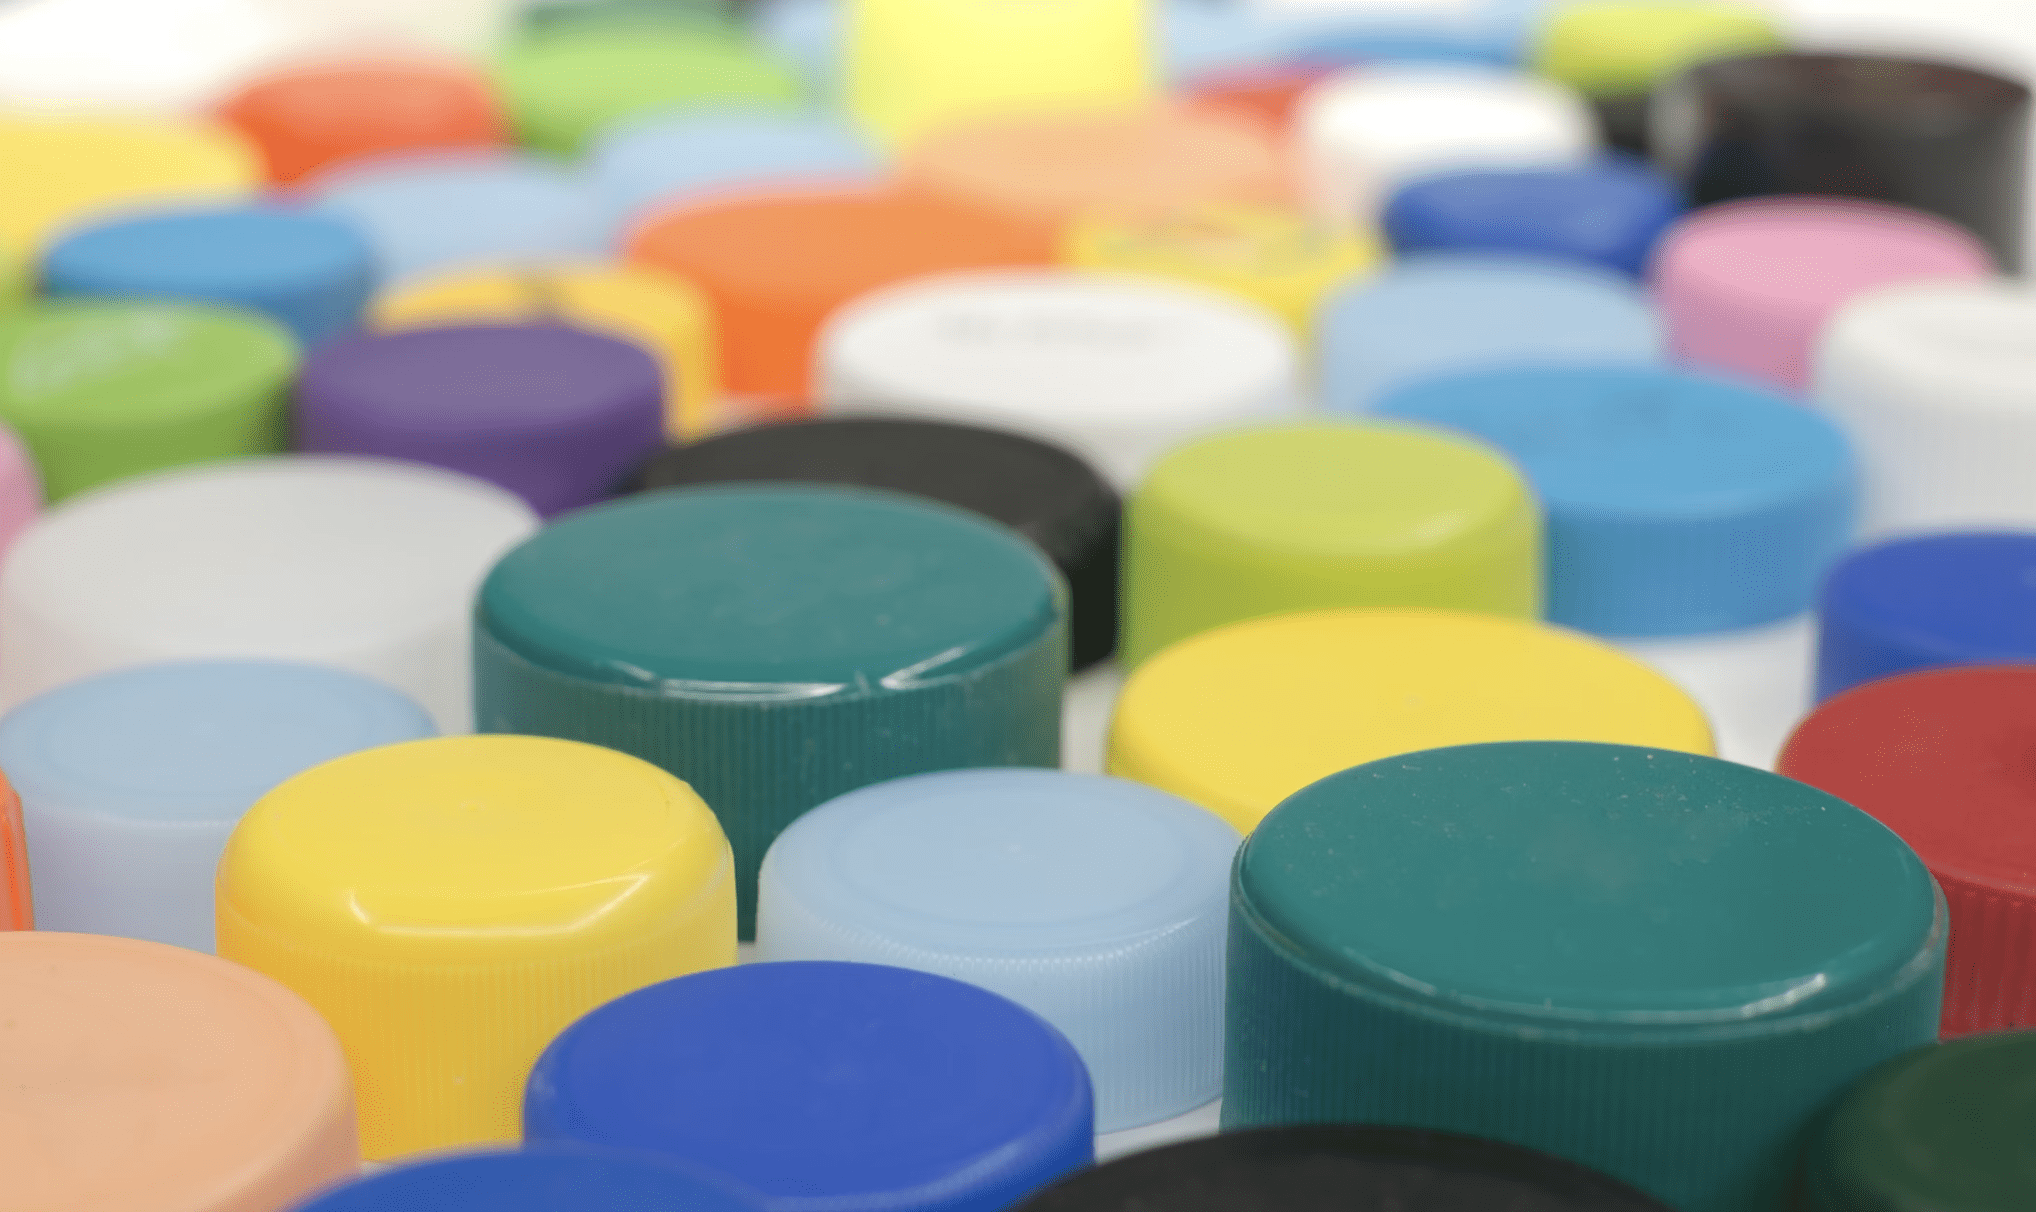
Save those plastic bottle caps and transform them into colourful mosaics. Collect caps from various bottles, clean them, and gather a large piece of cardboard or wood as the base.

Use glue to attach the caps in different patterns and designs. This way you can not only promote recycling but also encourage children’s artistic abilities and patience as they carefully place each cap to create a beautiful mosaic.


Old Clothing Puppets

Repurpose old socks, gloves, and scraps of fabric into delightful hand puppets. Gather buttons, yarn, and fabric glue to add eyes, hair, and other features.

Encourage your children to create characters and put on a puppet show. This project is an excellent way to foster creativity and storytelling skills while giving new life to old clothing items that would otherwise be discarded.

Tin Can Drums

Turn empty tin cans into a fun musical instrument. Clean out a few cans of different sizes, and cover the open ends with balloons or fabric secured with rubber bands.

Decorate the cans with paint, stickers, or markers. Provide your kids with drumsticks or wooden spoons, and let them explore different rhythms and sounds. This project combines music and crafting, offering an engaging way to teach rhythm and coordination.

By repurposing household items into play structures, you not only provide endless entertainment but also teach valuable lessons about recycling and sustainability. These creative DIY projects can help children see the potential in everyday objects and inspire them to think creatively about the world around them.  If you get creative in some of these activities, share your creations by tagging @jcbkids on Instagram or Facebook.

Must-Do Things Before Heading Back To School

As summer draws to a close, it’s essential to savour the remaining sunny days while also getting ready for the upcoming school year. This transition period is a great opportunity to engage in activities that are both fun and preparatory.

Here are five engaging activities to enjoy before the school bell rings, ensuring your children make the most of their summer break and head back to school with enthusiasm and readiness.

Create a Photobook of Summer Memories

Capture the essence of summer by creating a photobook filled with your favourite moments. Spend a day sorting through photos from family trips, beach days, and outdoor adventures. Let the kids choose their favourite pictures and design the layout. 

This activity not only preserves precious memories but also serves as a creative project that helps children practise organisational and artistic skills. Plus, flipping through the photobook during the school year can bring back those warm summer smiles.

Host a Back-to-School BBQ with JCB-Themed Activities

Why not throw a memorable back-to-school barbecue? Invite friends and family for a day of fun and food. To make it even more exciting, incorporate JCB-themed activities. Set up a mini construction site with JCB diggers and trucks, allowing kids to role-play as little builders. 

These toys not only entertain but also stimulate imaginative play and motor skills. JCB Explore shop offers a fantastic range of toy diggers and ride-ons that can turn your garden into a construction wonderland.

Go on a Nature Scavenger Hunt

Organise a nature scavenger hunt in your local park or even your garden.

Create a list of items for the kids to find, such as specific leaves, rocks, or insects. This activity encourages children to explore and appreciate the natural world around them.

To make it even more engaging, use some adventure kits, e.g. binoculars, magnifying glasses, and field guides. These tools enhance the learning experience, making the hunt both fun and educational.

DIY School Supplies 

Prepare for the school year by personalising school supplies. Gather materials and let your kids decorate their notebooks, pencil cases, and folders. This activity fosters creativity and gives children a sense of ownership over their school items. 

Enhance the fun with a JCB pen pot, perfect for organising all those newly decorated pens and pencils. Additionally, consider the JCB drawstring bag to pack all school essentials in. These unique and practical items will make your children proud to show off their personalised school supplies.

Explore a New Hobby with JCB Construction Toys

Encourage your kids to try a new hobby before the school year starts. Building and construction are excellent choices that combine fun with skill development. JCB Explore’s construction toys and scale models provide an ideal way to introduce these hobbies. These sets not only entertain but also enhance fine motor skills, problem-solving abilities, and creativity.

As the summer days grow shorter, these activities will help ensure your children transition back to school with joy and enthusiasm. Embrace these moments to create lasting memories and prepare for a successful school year ahead. 

Digging into Fun: How to Turn Your Sandpit into a Mini Construction Site with JCB Toy Diggers

Summer is here, and it’s the perfect time to take outdoor play to the next level! If you have a sandpit in your garden, why not transform it into an exciting mini construction site? With JCB toy diggers and a sprinkle of creativity, you can create a world where imagination runs wild and little engineers are born. 

Whether you’re a parent looking to keep your kids entertained or you’re a young builder eager to dig into fun, we’ve got you covered. Here’s how to turn your ordinary sandpit into a bustling construction zone that promises endless hours of playtime joy.

Build Your Dream Structures

One of the most thrilling aspects of a construction site is seeing the structures come to life. Use your JCB toy diggers to scoop, move, and pile sand into various shapes. Here are a few ideas to get you started:

Sandcastles with a Twist

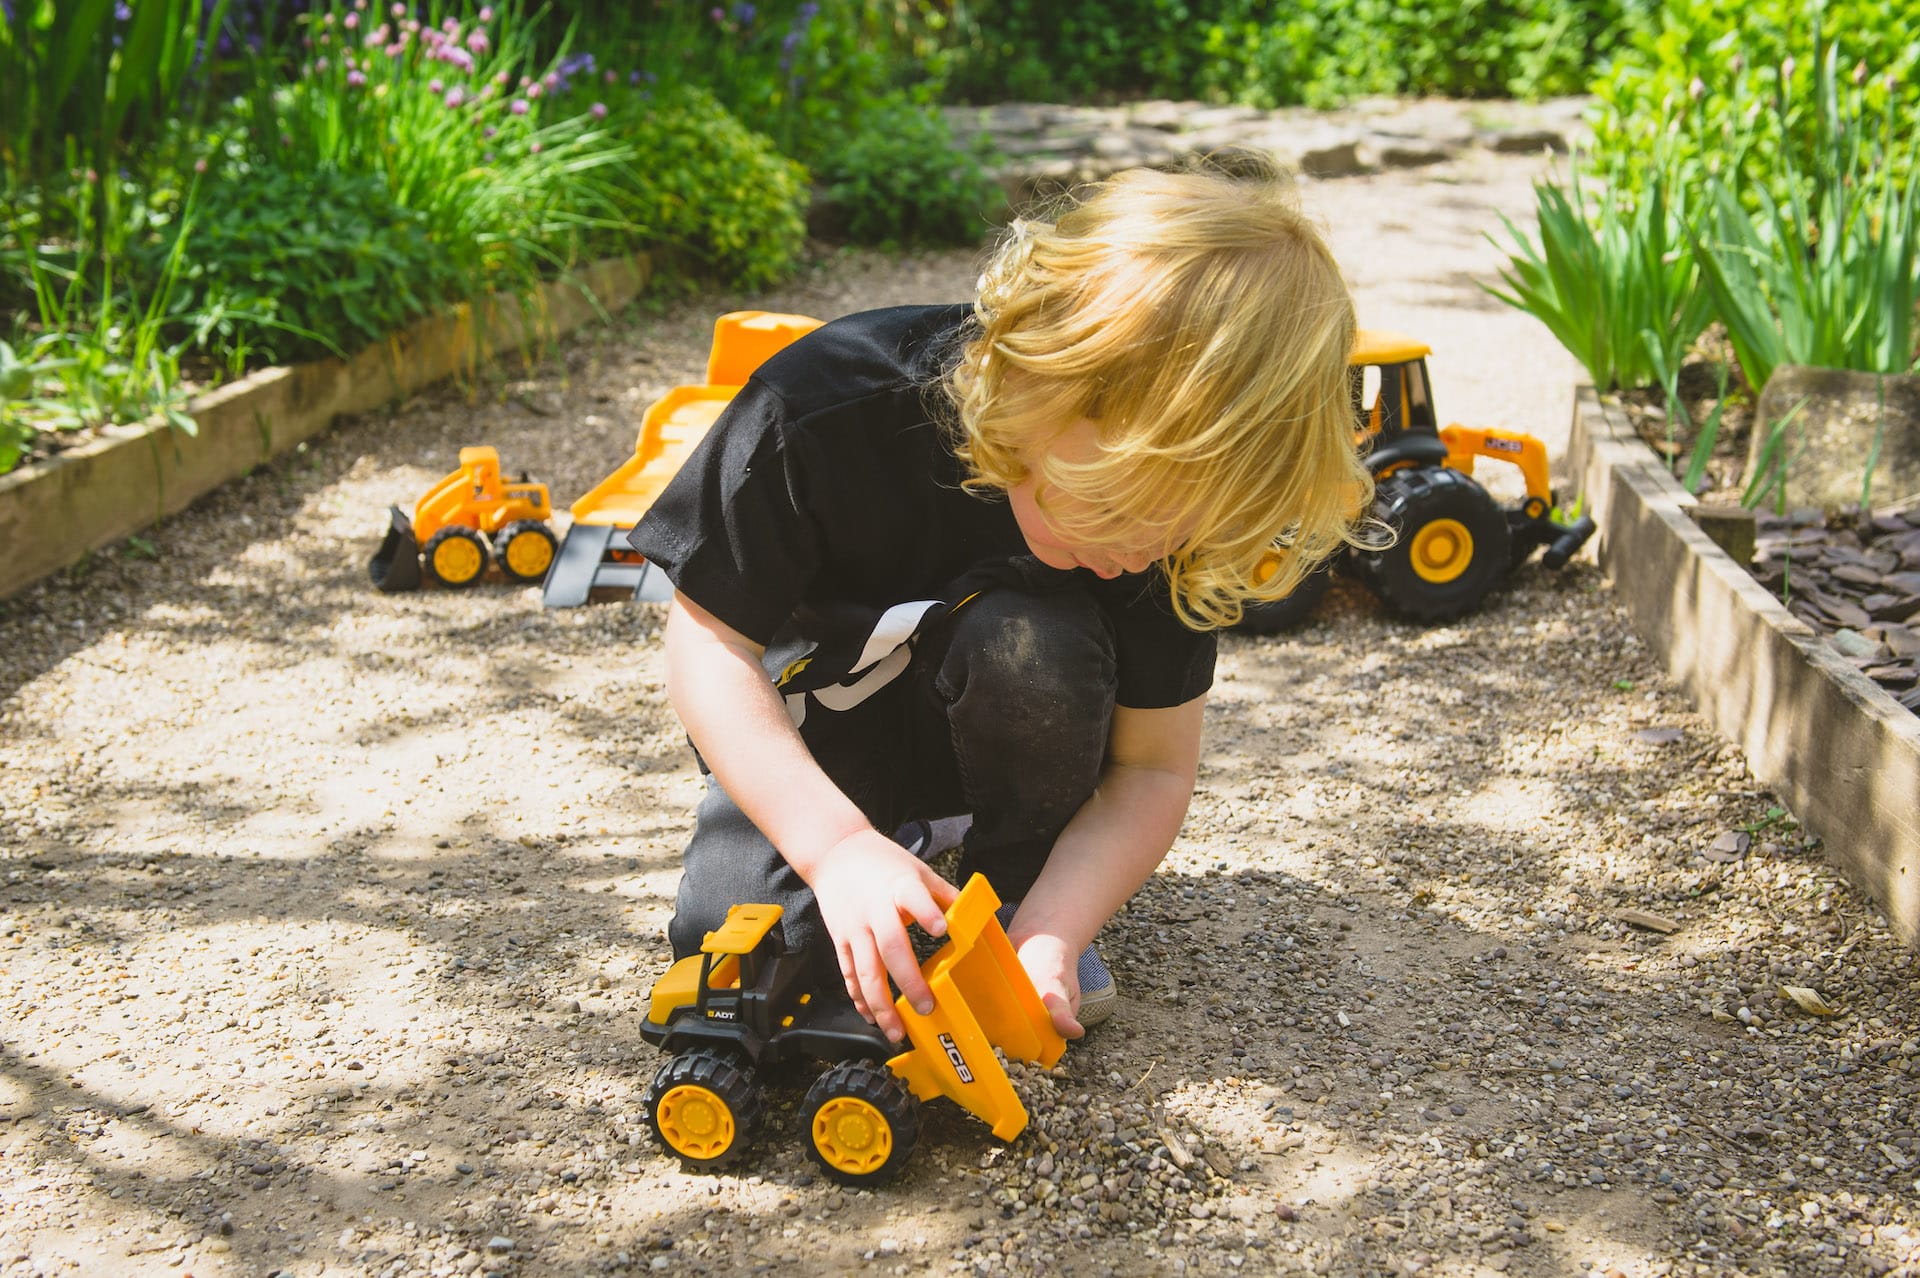
Instead of traditional sandcastles, build sand skyscrapers, bridges, or even a mini city. Use your JCB diggers to dig foundations and transport sand to construction zones.

Sand Roads and Tunnels

Create a network of sand roads and tunnels. This is a great way to teach kids about basic construction concepts and road safety. Use toy trucks and cars to drive around your newly constructed roads.

Excavation Challenges

Introduce some friendly competition with excavation challenges. This not only keeps the play engaging but also helps in developing fine motor skills and hand-eye coordination. Here’s how you can set up some exciting challenges:

Treasure Hunt

Bury small toys or “treasures” in the sandpit and let the kids use their JCB diggers to find them. Provide clues or a simple map to make it even more adventurous.

Digging Races 

Set a timer and see who can dig the deepest hole or build the highest sand pile within a certain time frame. Make sure to have a referee to ensure fair play!

Dress Up as Construction Crew Members

Enhance the experience by turning it into a full-fledged role-playing activity. Dressing up as construction crew members can make the play more immersive and fun. Equip your little builders with toy construction helmets and vests. 

This adds an element of realism and safety to their play. Use toy walkie-talkies for communication. It’s a fun way to teach teamwork and coordination as the kids direct each other on what to build or where to dig next.

Encourage Teamwork and Skill Development

Playing in a mini construction site is not just fun; it’s also educational. Kids learn valuable lessons in teamwork, problem-solving, and critical thinking. Here are some tips to foster these skills:

Assign Roles

Divide tasks among the kids. One can be the digger operator, another the architect, and someone else the construction manager. This helps them understand the importance of each role in a real construction site.

Collaborative Projects

Work on big projects together. For example, building a complex structure like a sand fort requires planning and cooperation. Celebrate their success with a grand opening of their new structure!

Top JCB Toy Diggers for Your Mini Construction Site

To bring your mini construction site to life, here are some must-have JCB toys:

JCB Dump Truck Playset: Perfect for hauling loads of sand, this set will keep your little builders busy for hours.

JCB Giant Dumptruck & Helmet: This combo adds realism and fun, allowing kids to look and feel like real construction workers.

JCB Mega Transporter with Excavator: Ideal for transporting and digging, this set offers endless possibilities for creative play.

JCB Mobile 360 Degree Excavator: A versatile toy that lets kids dig in all directions, making it a centrepiece of your construction site.

Endless Hours of Playtime Joy

Transforming your sandpit into a mini construction site with JCB toy diggers is a fantastic way to keep kids entertained and engaged. The combination of building, excavating, and role-playing offers endless opportunities for creativity and fun. So, grab your hard hats, start your diggers, and let the construction adventures begin!

With these tips, your garden sandpit will become the ultimate playground where imaginations soar and little builders thrive. Happy digging!

Digger Delights: Unearthing Joy at UK’s Top JCB-inspired Destinations for Kids

From the bustling excitement of operating real diggers to the awe-inspiring magic of witnessing manufacturing marvels, the UK offers a plethora of JCB-inspired destinations that promise unforgettable experiences for kids and families alike. Whether you’re seeking hands-on thrills or scenic serenity, these top JCB-inspired destinations are sure to unearth joy and excitement for all ages.

Diggerland: Where Dreams of Digger Dominance Come True

Step into the world of Diggerland, where children’s fantasies of operating heavy machinery become a reality. With multiple locations across the UK, Diggerland offers a thrilling array of activities that allow kids to get behind the wheel of real diggers, dumpers, and excavators. 

From digging for treasure to navigating obstacle courses, every moment at Diggerland is filled with excitement and adventure. With expert supervision and safety measures in place, children can unleash their inner construction worker in a safe and controlled environment, creating memories that will last a lifetime.

JCB Zone at Gulliver’s Kingdom: Unleash Your Inner Construction Hero

Step into the thrilling world of construction at the JCB Zone, an exciting addition to Gulliver’s Kingdom theme park that promises unforgettable adventures for young and old alike. Situated within the heart of the park, this special area invites visitors to experience the excitement of operating one of the iconic JCB diggers in a safe and immersive environment.

As you enter the JCB Zone, you’ll be greeted by a bustling scene of activity, with mini versions of JCB diggers ready and waiting to be operated by eager adventurers. Climb aboard and take control of the machinery as you navigate through a series of thrilling challenges and obstacles. From digging and lifting to stacking and manoeuvring, every moment in the JCB Zone is filled with excitement and adventure.

Springfields Adventure Land: Where Fun Meets Nature’s Playground

Nestled in the picturesque countryside of Lincolnshire, Springfields Adventure Land offers an exciting blend of outdoor thrills and natural beauty, making it a must-visit destination for families seeking adventure and relaxation. As you step into this enchanting playground, you’ll be greeted by a vibrant landscape dotted with exhilarating attractions and scenic wonders.

Start your adventure with a journey through the JCB-themed experiences, where children can unleash their inner construction worker by operating JCB ride-ons and navigating through specially designed courses. From digging and scooping to manoeuvring like pros, these interactive activities promise endless excitement and hands-on fun for kids of all ages.

In conclusion, whether you’re seeking thrills, insights, or serenity, the UK’s top JCB-inspired destinations offer something for everyone to enjoy. From the adrenaline-fueled excitement of Diggerland to the mesmerising magic of a JCB Factory Tour, these destinations promise unforgettable experiences and lasting memories for kids and families alike. So why wait? Embark on a journey of discovery and delight, and unearth joy at the UK’s top JCB-inspired destinations today!

Close popup